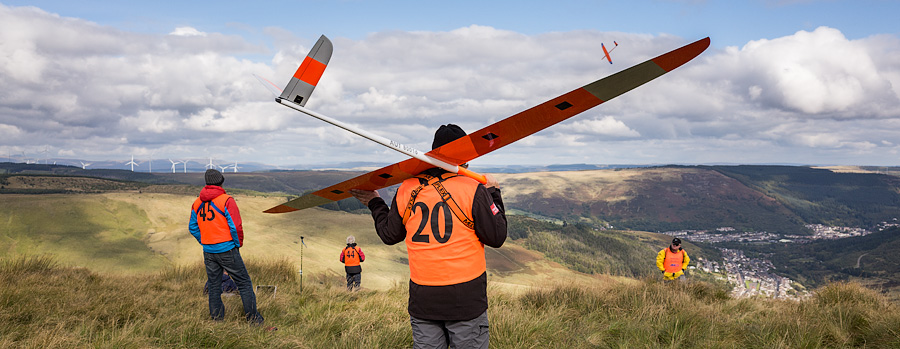
F3F models at a competition in Wales. Mix adjusters help with trimming.
How to make in-flight adjusters
Introduction
Optimising the performance of your model involves lots of trial and error - and lots of flights. Not only is it time consuming, but more landings means more risk of damage. Far better to make the adjustments while you're flying!
So, in this article I'll describe how knobs and trims can be programmed as in-flight mix adjusters, for optimising diff, snapflap, motor compensation... that's right - almost anything you like, while you're flying the model.
The result is less fiddling, more flying and a better performing model.
The volume control
The basis of any kind of adjuster is a volume control. This is simply a mixer with a knob or slider as input, and with the output varying between 0% and 100% (instead of the default -100% to +100%). Once the volume control is established, it's simply a question of multiplying the output by the 'thing' you want to adjust.
Okay, so let's start with a simple volume control. The adjuster will be Pot1. We'll look at two methods:
Method 1: custom weight and offset
The first method of creating the volume control uses a free mix, with weight and offset both set to 50%:
How does it work? Recall that the output of a mix is calculated according to this formula:
- With knob Pot1 fully anticlockwise, input=−100, and so output = 0
- With Pot1 fully clockwise, input=100, and so output=100
We can verify this in the Outputs screen: as Pot1 is rotated clockwise, the value of CH10 varies from 0 to 100.
To reverse the direction of Pot1, long press on the input field, and choose 'invert'.
The benefit of this approach is that all the code is contained in one mixer line. However, it's not so easy to set limits other than +/-100%.
Method 2: custom curve
The second method is also based on a free mix, but using a 2-point curve to define the adjustment limits.
Freemix input=Pot1, curve=2 points [(-100,0), (100,100)], output=CH10
This method make it easier to set custom limits. For example, for adjusting differential, it might be more appropriate to set limits of 10% and 70%:
Freemix input=Pot1, Curve=2 points [(-100,10), (100,70)], output=CH10
Examples: snapflap and diff adjusters
Now that we've created a volume control, let's put it to work. We'll look at a couple of examples:
Adjuster for snapflap
Snapflap is another name for an elevator-to-flap mix; as you pull on the elevator, so the flaps drop by a small amount. Now here's the point: it's useful to adjust the snapflap mix whilst flying the model.
So let's make a snapflap adjuster. We'll base it on pot1, and we'll use a curve to set the adjustment limits of 0% - 25%. The adjuster output goes to CH10.
Curve:AdjusterLimits points=2 [(-100,0), (100,25)]
Freemix:adjuster input=Pot1, curve=AdjusterLimits, output=CH10
Finally, we create the snapflap mix, and inject the volume control (CH10) into the weight field:
FreeMix:snapflap input=Ele, weight up/down=CH10:adjuster, output=CH5/CH6:flaps
As pot 1 is rotated, the maximum flap deflection will vary between 0% and 25% of available flap travel.
The nice thing about this method is that it can be be used to adjust any field which can be linked to a source, for example diff and expo.
Adjuster for diff
Here's an another example, this time using Pot1 to adjust diff between 20% and 70%:
Curve:DiffLimits points=2, [(-100,20), (100,70)]
Freemix:adjuster input=Pot1, curve=DiffLimits, output=CH10
Ailerons: diff=CH10, output=CH1/CH2:ailerons
Adjustable snapflap, OpenTX style
Here's another technique which I'll mention in passing. It's one which will be familiar to many OpenTX users. With this method, the outputs of the adjuster and the target mix are multiplied. To do this, we use the 'multiply' mixer function in the second mix. (More formally, the 'multiply' function multiplies the current mix with the result of all the mixers above it for that channel, and the result becomes the new channel value.)
Curve:AdjusterLimits points=2, [(-100,0), (100,100)]
FreeMix:snapflap input=Ele, weight up/down=25%, output=CH5/CH6:flaps
Freemix:adjuster input=Pot1, curve=AdjusterLimits, function=Multiply, output=CH5/CH6:flaps
I don't recommend this method since the mixer order is critical. It is however a nice demonstration of the Multiply mixer function. For a deeper explanation of the Multiply function, see Mixer functions.
Using trims as adjusters
The examples above use a pot as the adjuster. Trouble is, these are easily knocked, and the values aren't 'sticky' - they don't hold their value between sessions. It's usually better to use a spare trim lever (these are are sticky).
The FrSky X10 and X12 offer T5/T6 trims which are ideal for the job. Paradoxically the newer X20 lacks these trims, but you can repurpose one of the regular flight trims as mix adjusters. To do this, you must first open the Trims menu and disable the trim (this suppresses the default trim behaviour). There's an example of this in my F3F template, where the throttle trim is repurposed as a snapflap adjuster.